Hovering Over Nodes
When you hover over any node, a tooltip appears displaying the node’s fields and their values. This allows you to quickly preview node information without opening the details sidebar.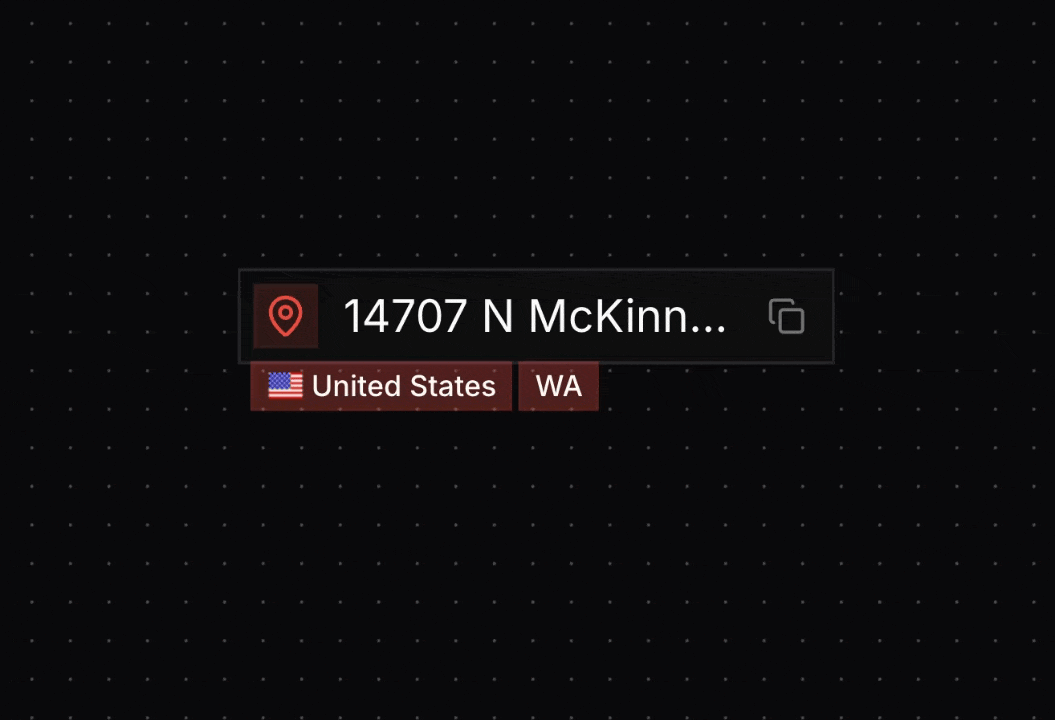
Clicking Nodes
Click on any node to open the node details sidebar. This sidebar provides comprehensive information about the selected entity, including all fields and their values displayed in a structured table.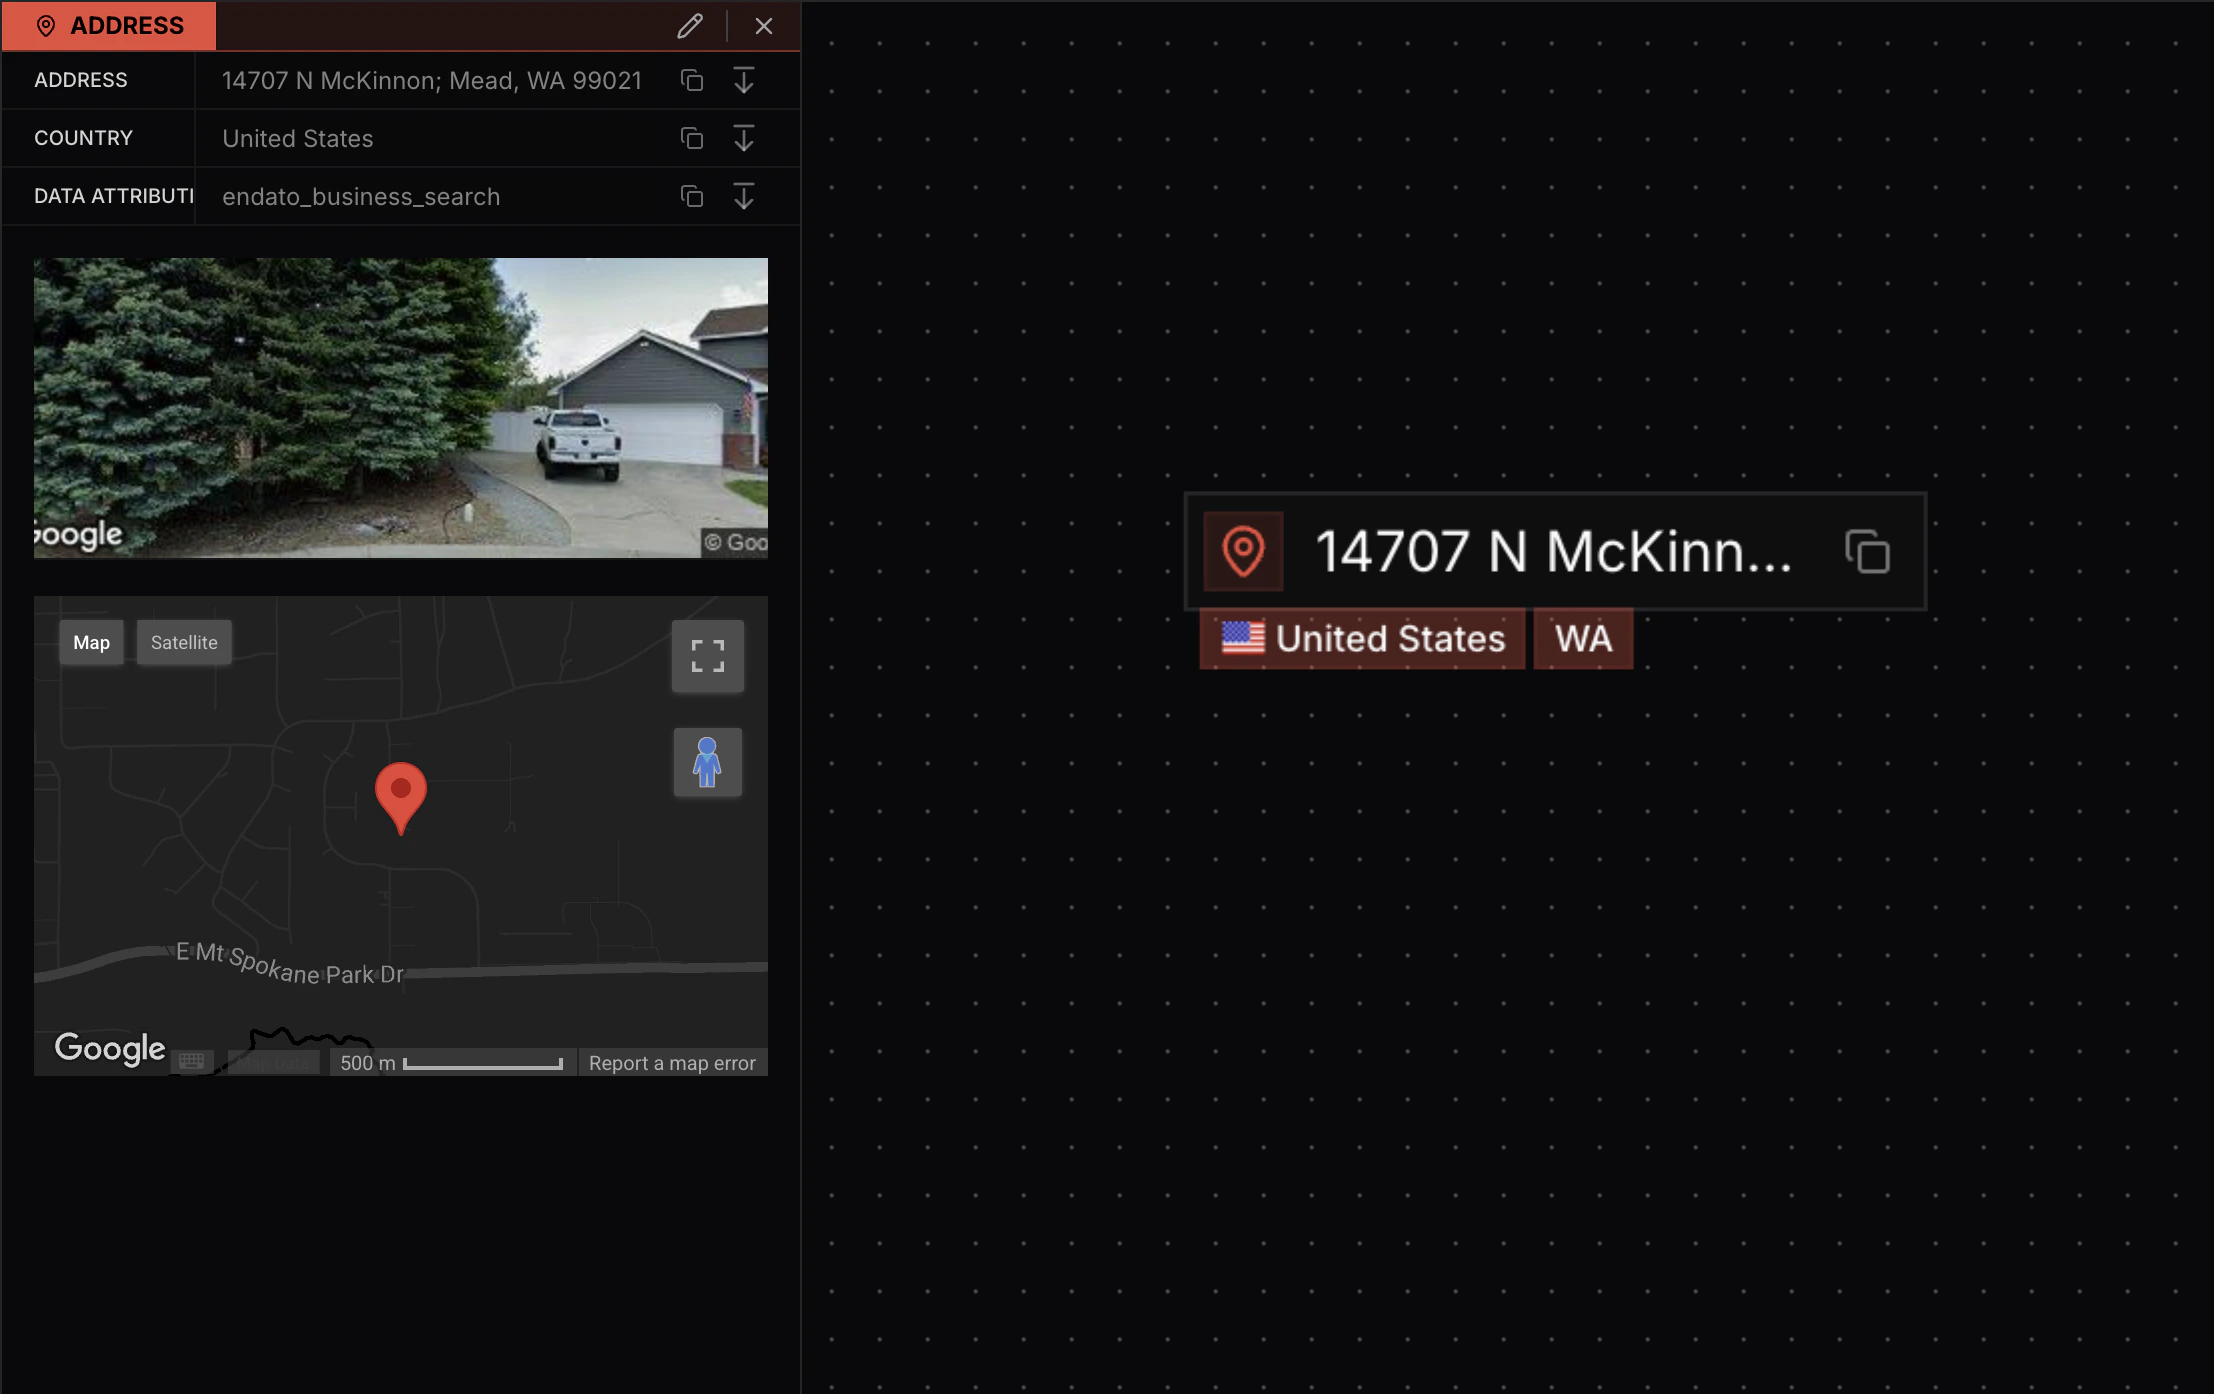
- Field values: All fields and their associated values for the node
- Special renderings: Certain node types like addresses include additional visualizations:
- Google Street View images showing the physical location
- Embedded Google Maps with location markers
- Field actions: Icons next to each field allow you to copy values or perform other actions
Editing Nodes
You can edit node fields directly from the node details sidebar. Open the edit mode to modify existing field values or create new fields for the node.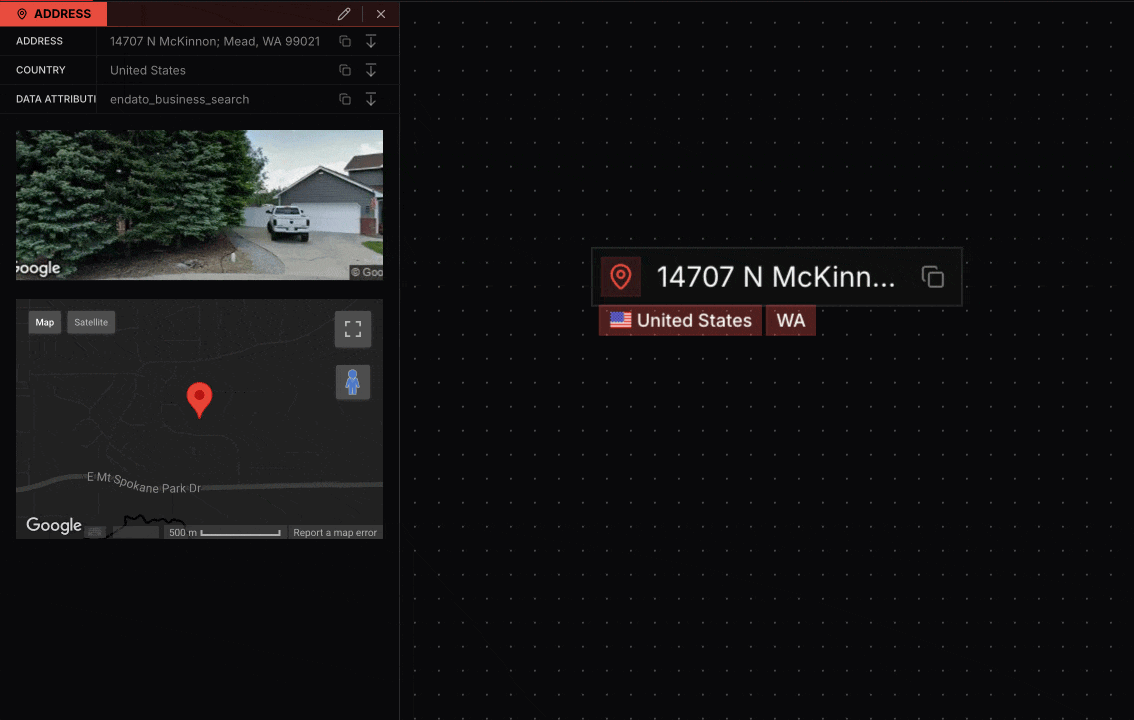
Editing Features
- Modify existing fields: Click on any field value to edit it
- Create new fields: Add additional fields to capture more information about the entity
- Create connected nodes: Click the dropdown icon next to a field value to create a new node using that primitive value, automatically connected to the parent node
Drawing Edges Between Nodes
You can manually create connections between nodes by drawing an edge from one node to another. This allows you to document relationships or connections that aren’t automatically discovered through transforms.
- Click and hold on a node
- Drag to another node
- Release to create the connection
Multi-Node Selection
Hold Shift while clicking nodes to select multiple nodes simultaneously. This selection mode enables you to run transforms on multiple entities at once.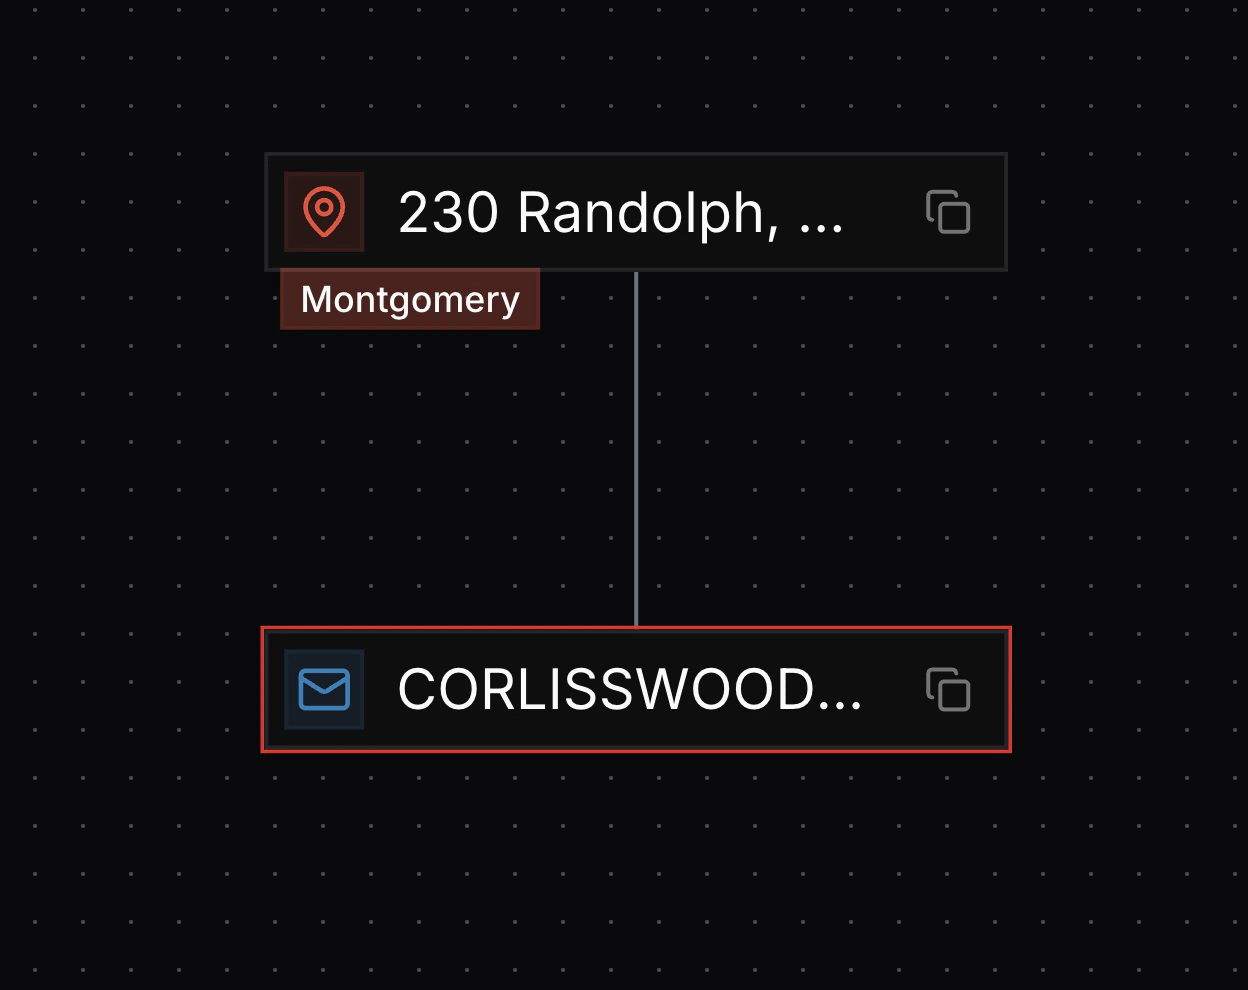
Selection Requirements
- Same node type: Only nodes of the same type can be selected together using this method
- Visual indication: Selected nodes are highlighted with a distinct border
- Transform operations: Once multiple nodes are selected, you can apply transforms to all selected entities simultaneously
Pinning Nodes
Hold Option (Mac) or Alt (Windows) while clicking a node to pin it. Pinned nodes receive special visual treatment in certain graph layouts.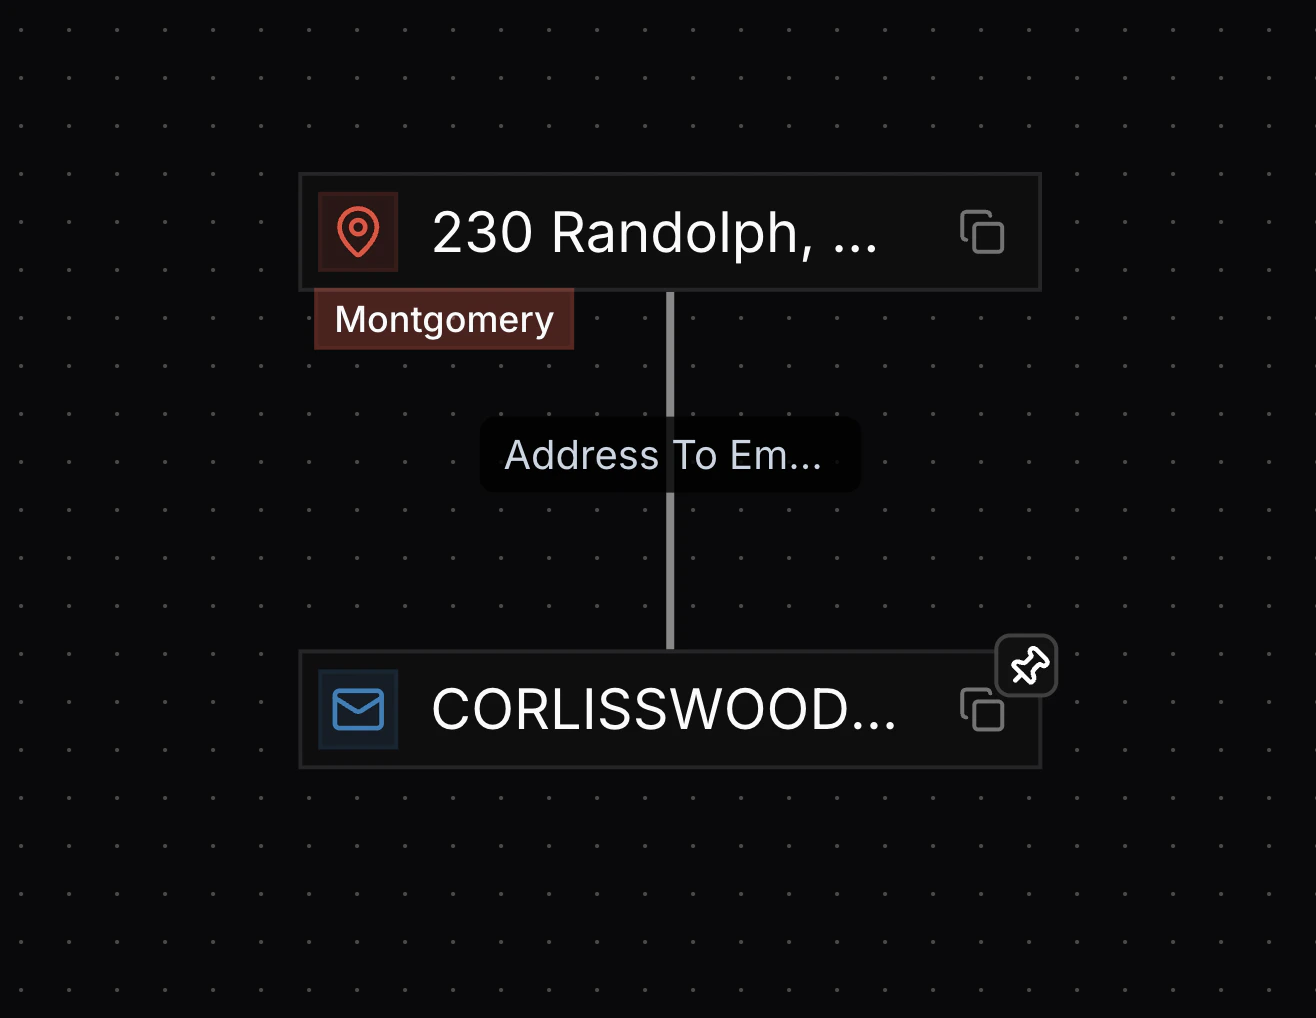
Pin Effects
- Increased size: Pinned nodes appear larger in ball layouts and other force-directed layouts
- Visual emphasis: Pinned nodes maintain prominence regardless of graph layout changes
- Focus management: Use pinning to keep important entities visible while exploring your graph
Moving Multiple Nodes
You can select and move multiple nodes at once by holding Shift and dragging a rectangle across the graph. This creates a selection box that captures all nodes within the rectangle, allowing you to reposition them together.
How It Works
- Hold Shift and click on an empty area of the graph
- Drag to create a selection rectangle
- All nodes within the rectangle are selected
- Drag any selected node to move all selected nodes together
Difference from Shift+Click Selection
This method differs from Shift+click selection in several important ways:- Purpose: Shift+drag rectangle is designed for moving multiple nodes together, while Shift+click is for selecting nodes to run transforms
- Visual indication: Shift+drag rectangle selection doesn’t give nodes a red border like Shift+click does
- Node type restriction: Shift+drag rectangle can select nodes of different types, while Shift+click requires nodes to be the same type
- Transform operations: Nodes selected via Shift+drag rectangle cannot be used for transform operations—use Shift+click selection if you want to run transforms on multiple nodes